| 1. | Click |
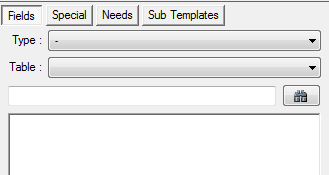
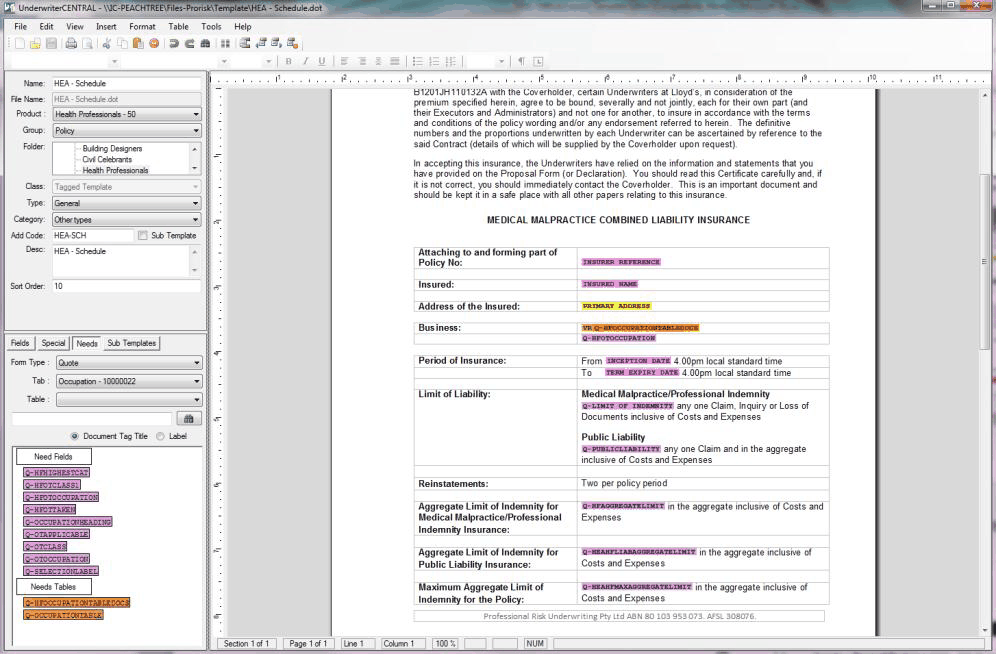
| 2. | Once Tagged Template is selected, the Field Selection and Special Fields areas are displayed allowing for the addition of fields or special codes. These fields enable the merging of information from your UnderwriterCENTRAL™ data. The location of these fields determines where in the document the information will be 'merged' to. |

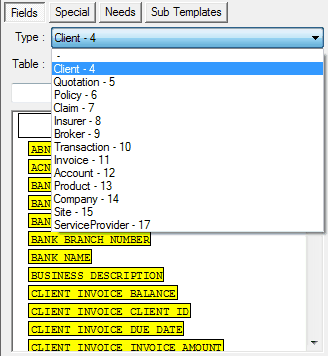
| 3. | Field Selections are grouped and colour coded to make it easy for you to identify where a particular field belongs. Select a group from the drop down list. |

•Client – ![]()
•Quotation – ![]()
•Policy – ![]()
•Claim – ![]()
•Insurer – ![]()
•Broker – ![]()
•Transaction – ![]()
•Invoice – ![]()
•Account – ![]()
•Product – ![]()
•Company – ![]()
•Site – ![]()
•Service Provider – ![]()
| 4. | The Special Fields allow you to format tables, using repeated information so that you can present a comparison of Options to your Client, include more than one Policy on an Invoice etc. The Special Fields appear as - |
| 5. | Add the text of your template in the main window. This should be done prior to adding any fields to the main window. |
| 6. | Holding down the left mouse button, drag the required fields from the Field Selection panel onto the document and drop these in the required location by releasing the mouse. |
